
If you’re looking for a dessert that combines the rich, moist flavors of red velvet cake with the creamy indulgence of cheesecake, this Red Velvet Cheesecake Balls Recipe is an absolute must-try. These bite-sized delights are incredibly easy to make yet impressively decadent, perfect for parties, holidays, or just a special treat at home. With just a handful of simple ingredients, you’ll create something that feels fancy but is actually a breeze to prepare. Let me walk you through this delightful recipe that turns classic flavors into irresistible little balls of bliss.
Ingredients You'll Need
This Red Velvet Cheesecake Balls Recipe uses straightforward ingredients that together create an amazing balance of flavor, texture, and color. Each component plays a key role, from the tangy cream cheese that adds creaminess to the vibrant red velvet crumbs that bring that signature look and a hint of cocoa flavor.
- Red velvet cake mix: The base of the recipe, providing that iconic red color and subtle cocoa flavor.
- Water: Used to prepare the cake, helping it stay moist and tender.
- Vegetable oil: Adds moisture and a tender crumb to the finished cake.
- Eggs: Bind the cake ingredients together, ensuring a perfect cake texture.
- Cream cheese (softened): The star of the cheesecake balls, lending a rich, smooth texture.
- Confectioner’s sugar: Sweetens the cream cheese mixture without any grittiness.
- Heavy cream: Whipped in for lightness, helping the filling achieve stiff peaks.
- Vanilla extract: Enhances the flavor, adding warmth and depth to the cheesecake filling.
How to Make Red Velvet Cheesecake Balls Recipe
Step 1: Bake the Red Velvet Cake
Start by preheating your oven to 350 degrees Fahrenheit. Use your red velvet cake mix along with the specified amounts of water, vegetable oil, and eggs, then bake the batter in a 9x13-inch or jelly roll pan. Baking in a thin layer helps the cake crumble easily later, which is essential for mixing with the cheesecake layer.
Step 2: Crumble the Cake
After baking, let the cake cool completely. This is important because warm cake won’t crumble correctly. Once cool, crumble the red velvet cake into very fine pieces—these crumbs will coat the cheesecake balls later, creating that iconic look and adding texture contrast.
Step 3: Prepare the Cheesecake Filling
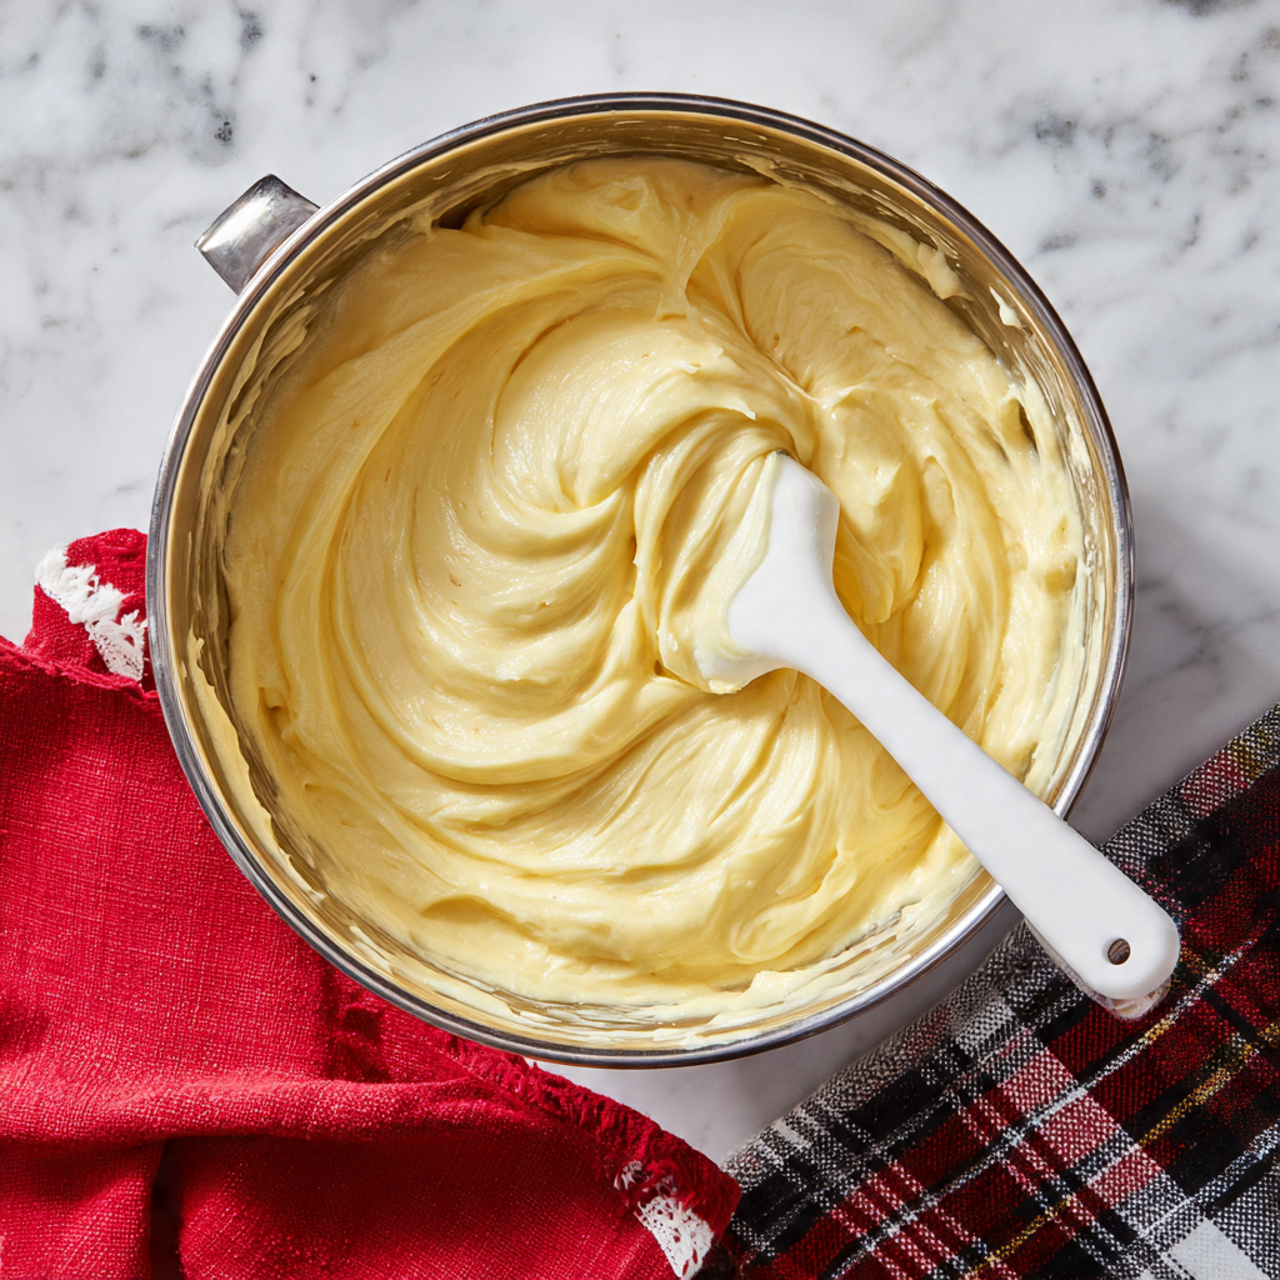
Now, grab your stand mixer. Beat the softened cream cheese and confectioner’s sugar together until everything is fully blended and smooth. Then add the heavy cream and vanilla extract before whipping the mixture until it forms stiff peaks. This whipping process introduces air, making the filling wonderfully light yet creamy.
Step 4: Form the Cheesecake Balls
Line a large baking sheet with parchment or wax paper to keep your workspace tidy. Use a small cookie scoop to portion out the cheesecake mixture into bite-sized balls. Place each ball on the prepared baking sheet and pop the whole tray into the freezer for about an hour. This chills them enough to hold their shape when rolled in crumbs.
Step 5: Coat with Red Velvet Crumbs
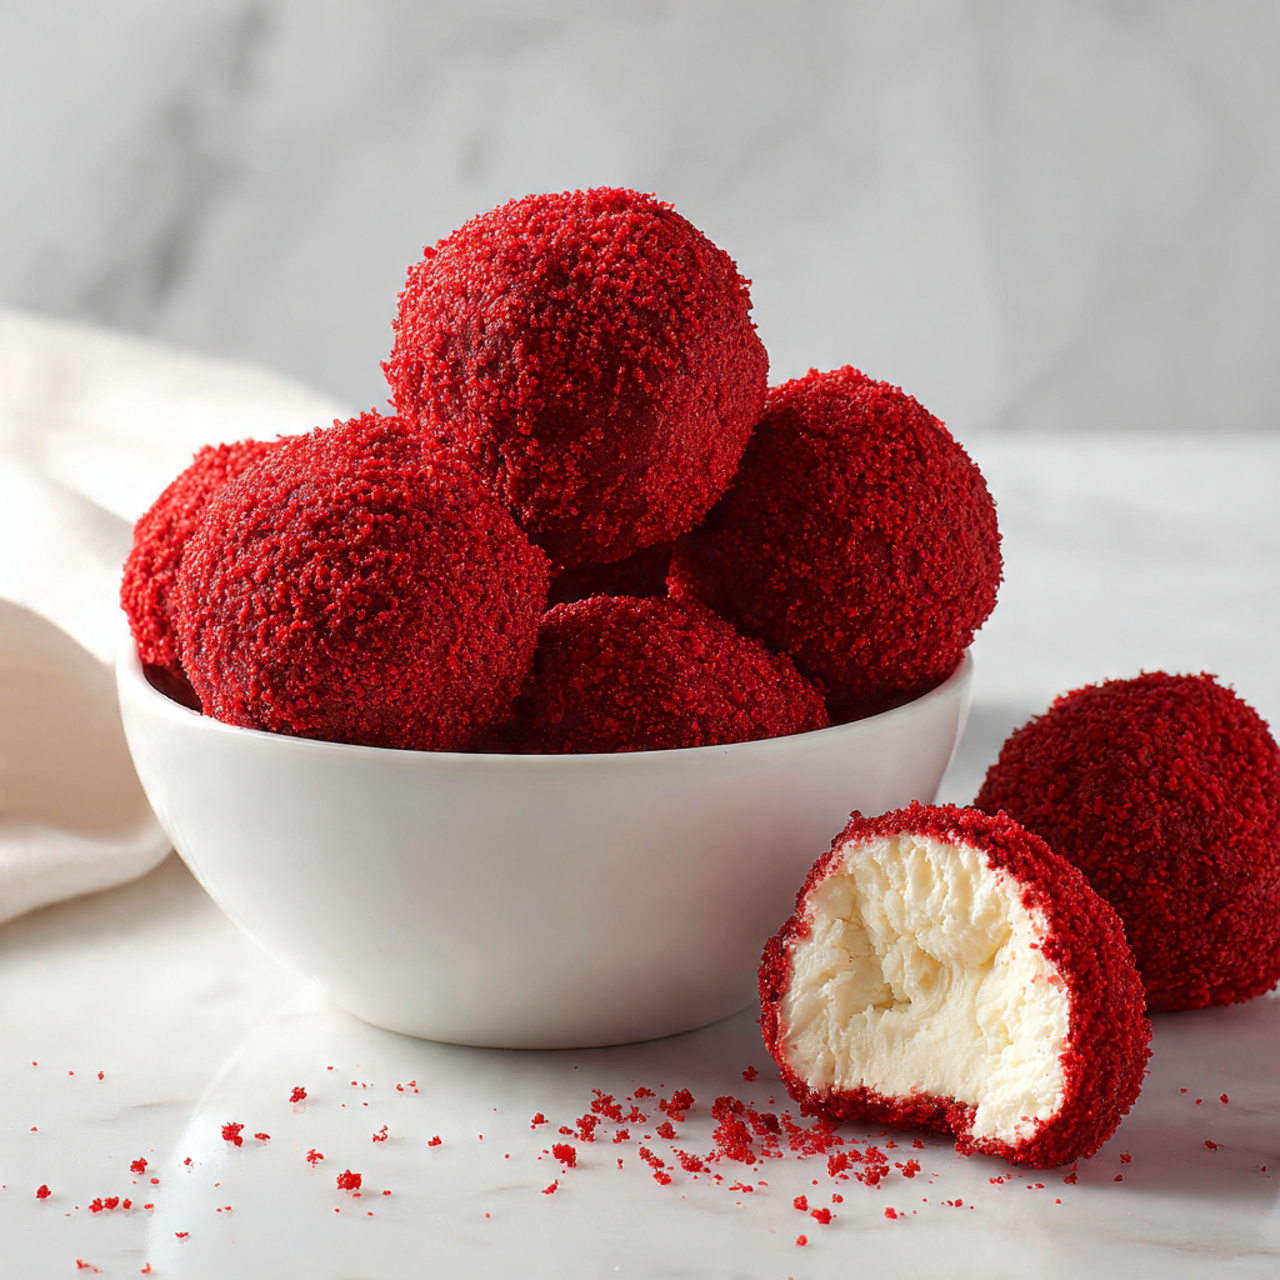
Once chilled and firm, remove the cheesecake balls from the freezer. Roll each one gently but thoroughly in the reserved red velvet cake crumbs, making sure they are completely covered. This adds a beautiful finishing touch and a nice textural contrast to the creamy center.
Step 6: Chill Before Serving
Refrigerate the coated cheesecake balls until you’re ready to serve. This helps everything set perfectly and keeps the balls from becoming too soft.
How to Serve Red Velvet Cheesecake Balls Recipe
Garnishes
These cheesecake balls are stunning on their own, but you can elevate them even more by adding a few creative touches. Try a light dusting of powdered sugar, a drizzle of white chocolate, or crushed nuts like pistachios or pecans to add some crunch. Fresh berries on the side provide a lovely pop of color and a refreshing contrast.
Side Dishes
Red Velvet Cheesecake Balls pair beautifully with a cup of rich coffee, a glass of creamy milk, or even a chilled dessert wine. Light fruit salads or a scoop of vanilla ice cream on the side can also complement the dessert nicely for a more rounded course.
Creative Ways to Present
For gatherings, serve these cheesecake balls on a pretty platter with alternating colors or shapes to add visual interest. You could also use decorative mini cupcake liners or skewers to make them easy to grab and eat. For holidays, sprinkle themed edible glitter or small candy pieces to match the occasion.
Make Ahead and Storage
Storing Leftovers
If you find yourself with leftovers, simply keep the cheesecake balls in an airtight container in the refrigerator. Properly stored, they stay fresh and delicious for up to 5 days, making them a convenient and delightful treat for days after your initial batch.
Freezing
You can freeze these cheesecake balls for up to 2 months. Place them in a single layer on a baking sheet to freeze individually, then transfer to a freezer-safe container. When you want to enjoy them, thaw in the fridge overnight to maintain the best texture and flavor.
Reheating
Red Velvet Cheesecake Balls are best served chilled, so reheating isn’t necessary. If you want them slightly softer, just leave them at room temperature for 10 to 15 minutes before serving. This way, the filling remains creamy and perfect.
FAQs
Can I make these cheesecake balls without a stand mixer?
Absolutely! While a stand mixer makes whipping the cream cheese mixture easier and faster, you can use a hand mixer or even whisk by hand, though it will take a bit more effort to achieve stiff peaks.
What type of cream cheese is best to use?
Always use full-fat cream cheese for the best flavor and texture. Low-fat or whipped varieties will alter the consistency and may result in less creamy cheesecake balls.
Can I use homemade red velvet cake instead of a mix?
Yes, any red velvet cake recipe will work. Just make sure the cake is fully cooled and crumbled finely so it coats the cheesecake balls nicely without clumping.
Is there a way to make these gluten-free?
Definitely! Use a gluten-free red velvet cake mix or recipe, and check that all other ingredients like confectioner’s sugar and vanilla extract do not have gluten additives.
How do I prevent the cheesecake balls from falling apart?
Chilling the cheesecake mixture before rolling and then coating them thoroughly with cake crumbs helps them hold their shape. The cooling time in the freezer firms up the balls, making them easier to handle.
Final Thoughts
This Red Velvet Cheesecake Balls Recipe is a joyous celebration of flavor and texture that’s sure to be a hit with family and friends. They’re simple enough for everyday indulgence yet elegant enough for special occasions. Give them a try—you might just find your new favorite sweet treat to share again and again.
Print
Red Velvet Cheesecake Balls Recipe
- Total Time: 1 hour 35 minutes
- Yield: 28 servings
- Diet: Vegetarian
Description
Delight in these decadent Red Velvet Cheesecake Balls, a perfect bite-sized treat combining moist red velvet cake with creamy cheesecake. These no-fuss cheesecake balls are coated in cake crumbs for extra texture and visual appeal, making them ideal for parties or special occasions.
Ingredients
Red Velvet Cake
- 1 box red velvet cake mix
- 1 ¼ cup water
- ½ cup vegetable oil
- 3 eggs
Cheesecake Mixture
- 16 oz cream cheese, softened
- ½ cup confectioner’s sugar
- 2 Tbsp heavy cream
- 1 tsp vanilla extract
Instructions
- Preheat Oven: Preheat your oven to 350ºF (175ºC) to get ready for baking the cake.
- Prepare Cake Batter: Follow the directions on the red velvet cake mix box, combining the water, vegetable oil, and eggs as instructed. Pour the batter into a 9x13 inch or jelly roll pan for easy crumbling after baking.
- Bake and Cool Cake: Bake the cake according to the box instructions until fully cooked. Allow the cake to cool completely, then crumble it into fine pieces and set aside some crumbs for coating the cheesecake balls.
- Make Cheesecake Mixture: In the bowl of a stand mixer, beat the softened cream cheese with the confectioner’s sugar until smooth and combined. Add the heavy cream and vanilla extract, mixing on high speed until stiff peaks form.
- Form Cheesecake Balls: Line a large baking sheet with parchment or wax paper. Use a small cookie scoop to form balls out of the cream cheese mixture and place them on the prepared sheet.
- Chill Balls: Freeze the cheesecake balls on the baking sheet for about one hour until firm enough to handle.
- Coat Balls with Cake Crumbs: Remove the chilled cheesecake balls from the freezer and gently roll each ball in the reserved red velvet cake crumbs until fully covered.
- Refrigerate and Serve: Place the coated cheesecake balls in the refrigerator to chill until you are ready to serve. Serve cold for the best taste and texture.
Notes
- Ensure the cake is completely cooled before crumbling to avoid clumping.
- You can substitute heavy cream with full-fat sour cream for a slight tang.
- Store cheesecake balls in an airtight container in the refrigerator for up to 3 days.
- For a festive touch, consider decorating with white chocolate drizzle.
- Prep Time: 35 minutes
- Cook Time: 30 minutes
- Category: Dessert
- Method: Baking
- Cuisine: American



Leave a Reply